Ah, Chicken Parmesan! One of the most cherished dishes in the Italian-American culinary repertoire, it seamlessly merges the rich flavors of Italy with the hearty comforts of American cuisine.
At its core, Chicken Parmesan is a symphony of crispy breaded chicken, tangy marinara sauce, and molten cheese – a trio that can make mouths water at its mere mention. But the magic truly comes alive when these elements are baked to perfection.
The baking process, often underestimated, plays a pivotal role in achieving that melt-in-your-mouth chicken layered under a blanket of bubbling cheese and robust sauce. When done right, the result is a dish with an unparalleled flavor and texture, making every bite a moment to savor.
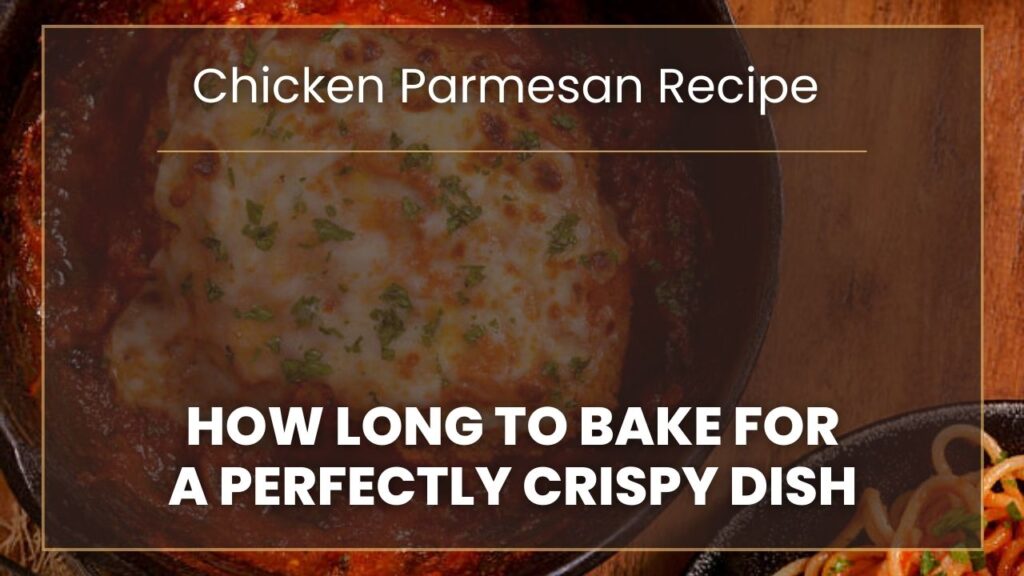
How Long to Bake Chicken Parmesan?
Baking Chicken Parmesan to achieve that golden-brown crust and gooey cheese layer is crucial. Typically, after the chicken has been breaded and briefly fried, you’ll want to bake it in a preheated oven at 375°F (190°C).
Layer the chicken with marinara sauce and a generous helping of mozzarella and Parmesan cheese. Then, bake for about 20 to 25 minutes.
Ensure that the chicken reaches an internal temperature of 165°F (74°C) and the cheese on top is bubbly and slightly browned. Adjust the baking time slightly based on the thickness of your chicken pieces.
Preparing the Chicken
Chicken Parmesan can be made with either breasts or thighs, and the choice often comes down to personal preference.
- Chicken Breasts: These are leaner and provide a larger, flatter surface which is great for an even coating of breadcrumbs. They’re often preferred for a classic Chicken Parmesan because of their neat appearance and consistency.
- Selecting: Opt for boneless, skinless chicken breasts. When shopping, look for pieces that are uniform in size to ensure even cooking.
- Chicken Thighs: They are juicier and have a richer flavor than breasts. However, they can vary more in size and thickness.
- Selecting: Like breasts, choose boneless and skinless thighs. Keep in mind they might require a bit more trimming.
Cleaning, Trimming, and Pounding to Even Thickness
- Cleaning: Always rinse your chicken under cold running water. This helps in removing any residual bone fragments or debris. Pat dry with paper towels to remove excess moisture.
- Trimming: Using a sharp knife, trim off any excess fat or tendons from the chicken pieces. If using thighs, ensure all bone fragments are removed.
- Pounding: Achieving an even thickness is essential for uniform cooking.
- Place your chicken piece between two sheets of plastic wrap or inside a zip-top bag.
- Using the flat side of a meat mallet, gently pound the thicker areas of the chicken. For chicken breasts, aim for a thickness of about 1/2 inch. Thighs might be slightly thinner due to their natural size.
Marinating or Seasoning Options
While some prefer just a simple seasoning for their Chicken Parmesan, others opt for a short marination to infuse more flavors.
- Simple Seasoning:
- Season both sides of the chicken pieces generously with salt and pepper. You can also sprinkle some garlic powder, onion powder, or Italian seasoning for added flavor.
- Marinating:
- In a bowl, combine olive oil, minced garlic, a splash of lemon juice, Italian herbs, salt, and pepper. Mix well.
- Add the chicken pieces, ensuring they’re well-coated. Let them marinate for at least 30 minutes to an hour in the refrigerator. Remember, if marinating for longer, be cautious with acidic ingredients like lemon as they can start to ‘cook’ the chicken.
Breading the Chicken
The Importance of a Three-Step Breading Process: Flour, Eggs, and Breadcrumbs
The secret to a perfectly breaded Chicken Parmesan lies in the three-step breading method. This ensures the breading sticks well and gives the chicken a crispy exterior once cooked.
- Step 1: Flour: Dredge the chicken piece in all-purpose flour, ensuring it’s well-coated. This helps the egg mixture stick to the chicken.
- Step 2: Eggs: Dip the floured chicken into a beaten egg mixture. The egg acts as the ‘glue’ for the breadcrumbs.
- For added flavor, you can season your egg mixture with a pinch of salt, pepper, and maybe a splash of milk or cream.
- Step 3: Breadcrumbs: Press the chicken into breadcrumbs, ensuring a thorough coat. Turn and press again to coat the other side. Shake off any excess.
Seasoning the Breadcrumbs for Added Flavor
Using seasoned breadcrumbs can elevate the flavor profile of your Chicken Parmesan significantly.
- Opt for Italian-seasoned breadcrumbs which are readily available in most stores.
- If using plain breadcrumbs, you can season them yourself. Mix breadcrumbs with a pinch of salt, black pepper, garlic powder, dried oregano, and some grated Parmesan cheese.
Tips for Ensuring an Even Coat
- Always press the chicken into the breadcrumbs rather than sprinkling them over. This ensures a thicker, even coat.
- If you find your bread isn’t sticking well, double-dip. After the initial coat of breadcrumbs, dip the chicken back into the egg mixture and then into the breadcrumbs again.
- Use one hand for dry ingredients (flour and breadcrumbs) and the other hand for wet (egg) to prevent clumping.
- After breading, let the chicken sit for about 5-10 minutes before frying or baking. This helps the breading stick better.
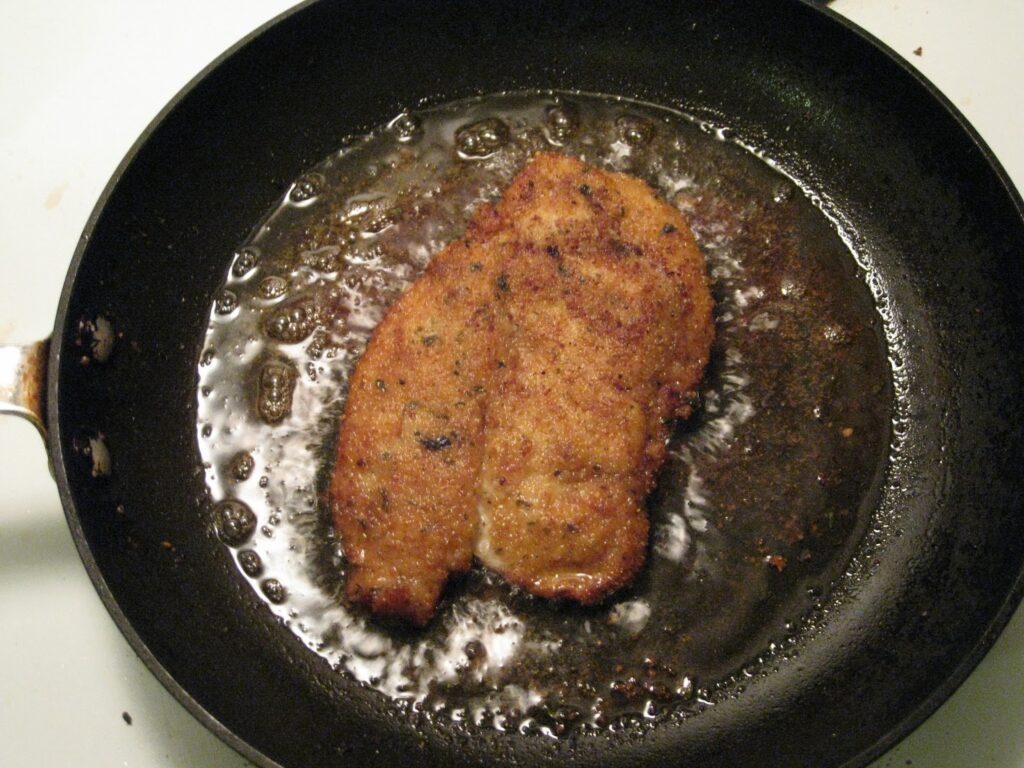
Frying Before Baking
Why It’s Crucial to Sear the Chicken Before Baking
Searing or frying the breaded chicken before baking accomplishes several things:
- Texture: It gives the chicken a crispy, golden-brown exterior. This texture contrasts nicely with the soft baked interior and the melted cheese.
- Flavor: Searing locks in the chicken’s natural juices and flavors, ensuring that it remains juicy even after baking.
- Appearance: A pre-seared chicken has a rich color, making the dish more visually appealing.
Oil Choices and the Right Temperature for Frying
- Oil Choices:
- Olive Oil: Adds a mild fruity note.
- Canola or Vegetable Oil: Neutral oils that won’t overpower the chicken’s flavor.
- Blends: Some chefs prefer a blend of olive and canola oil for a balanced flavor and higher smoke point.
- Temperature: The ideal temperature for frying breaded chicken is between 350°F to 375°F (175°C to 190°C). Too hot, and the breading will burn before the chicken cooks; too cool, and the chicken will soak up too much oil, becoming greasy.
Searing Duration and What to Look For
- Duration: Breaded chicken pieces typically need about 2-4 minutes per side, depending on their thickness.
- Indicators: Look for a golden-brown crust. The chicken doesn’t need to be fully cooked through at this stage, as it will continue cooking in the oven.
Assembling with Sauce and Cheese
Here is how to choose the right marinara or pasta sauce:
- Homemade vs. Store-Bought: If time permits, a homemade marinara sauce can add a personal touch. However, several store-bought brands offer quality sauces. Always opt for a sauce with minimal additives and preservatives.
- Flavor Profile: The sauce should be robust with a good balance of acidity, sweetness, and umami. It should complement the chicken rather than overpowering it.
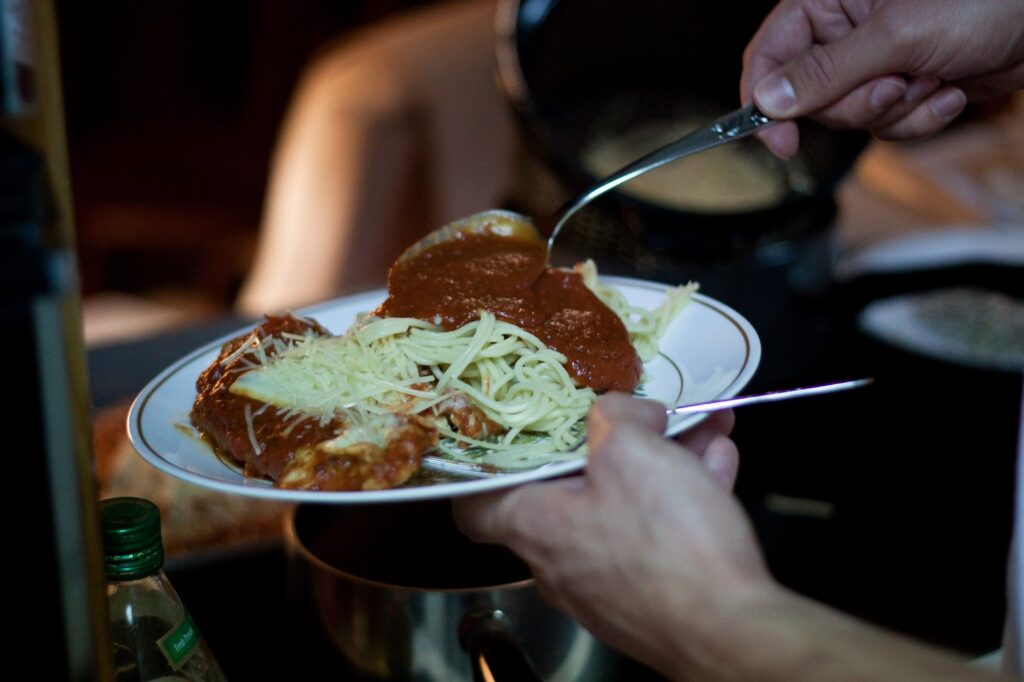
Layering the Chicken, Sauce, and Cheese for Optimal Flavor
- Base Layer: Start by spreading a thin layer of sauce on the bottom of your baking dish to prevent sticking and to infuse flavor from below.
- Chicken: Place the seared chicken pieces evenly in the dish.
- Sauce: Top each chicken piece with a generous spoonful of sauce. Don’t drown the chicken, but ensure it’s well-covered.
- Cheese: Finally, add the cheese. This will melt, creating a gooey, delicious topping.
Types of Cheese to Use and How Much
- Mozzarella: The go-to cheese for Chicken Parmesan because of its meltability and mild flavor.
- Parmesan: Grate fresh Parmesan over the top for an added salty, umami punch.
- Quantity: You want a good cheese coverage, so aim for about 1-1.5 cups of shredded mozzarella and a quarter cup of grated Parmesan for a standard-sized dish. Adjust based on your personal preference and the size of your dish.
Oven Temperatures and Baking Times
These are the tips for setting the right oven temperature for baking chicken parmesan:
- Preheat: Always start with a preheated oven to ensure even cooking.
- Temperature: Set your oven to 375°F (190°C). This temperature is ideal as it allows the chicken to finish cooking internally without drying out, and it perfectly melts the cheese on top.
Expected Bake Time & How to Determine Chicken Doneness
- Bake Time: For pre-seared chicken pieces, you should expect a bake time of around 20-25 minutes. However, exact times can vary based on the chicken’s thickness and individual oven variances.
- Chicken Doneness: The safest and most accurate way to determine doneness is by using a meat thermometer. Insert it into the thickest part of the chicken. It should read at least 165°F (74°C) for safety.
Conclusion
Chicken Parmesan is not just a dish; it’s an experience. From the crispy, golden exterior to the juicy interior draped in rich marinara and melted cheese, it embodies comfort food.
Baking it correctly is essential, not just for safety but for the symphony of flavors and textures that define this dish. Whether you’re a seasoned chef or a home cook, trust the process, be attentive to details, and, most importantly, enjoy every bite.