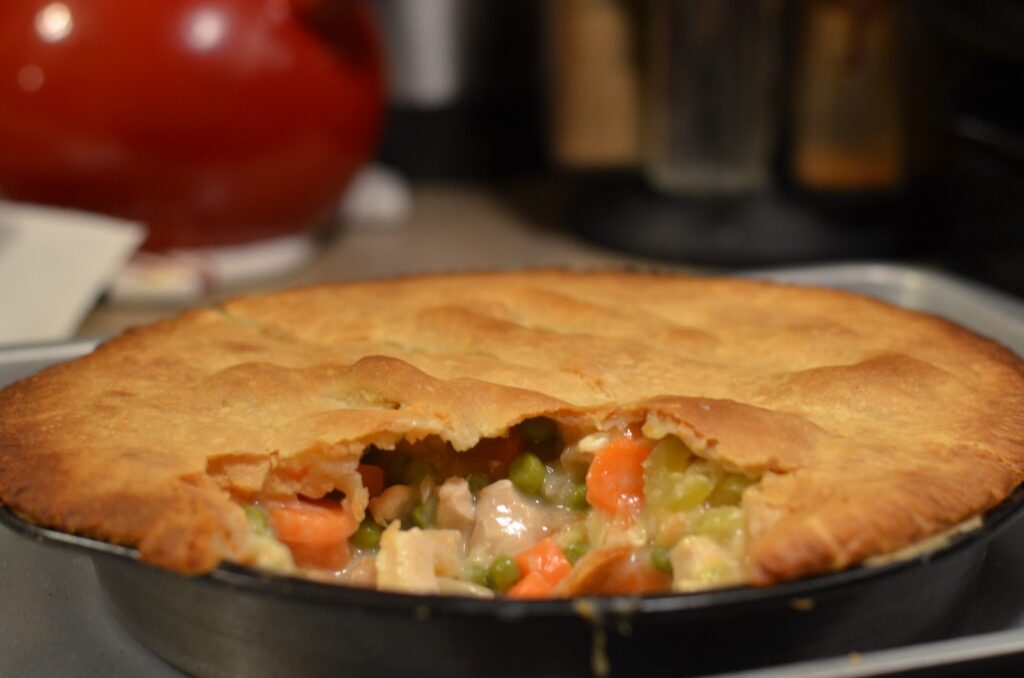
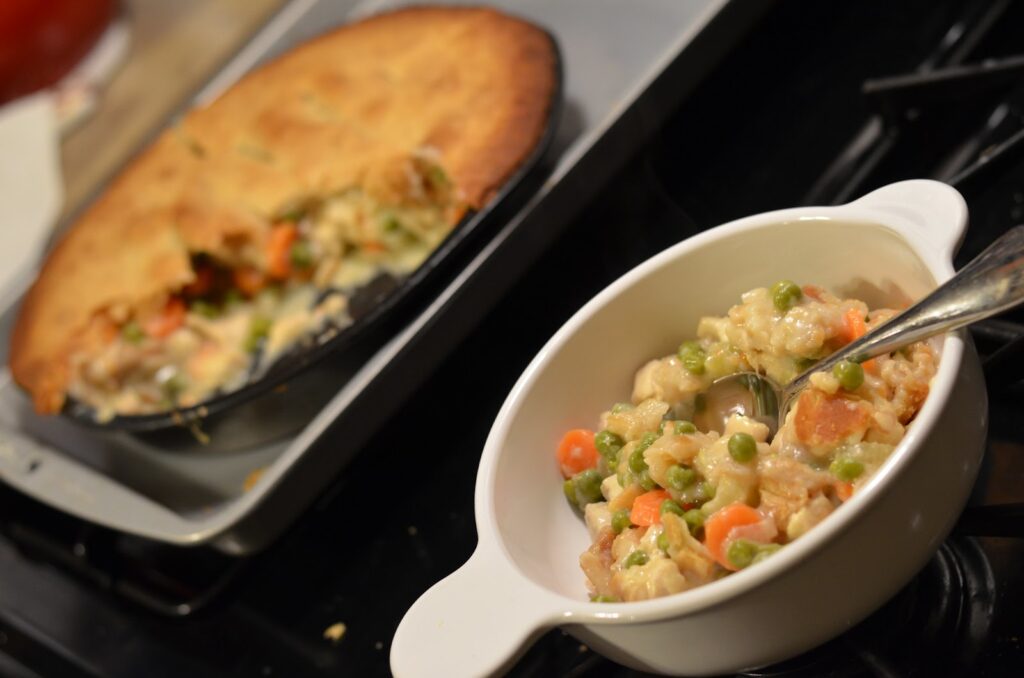
Ready to kick your taste buds into overdrive? Meet chicken pot pie’s zesty cousin: the Chicken Pot Pie Chowder! Journey back in time to the heartwarming kitchens where traditional chicken pot pies bubbled away.
Now, imagine those comforting flavors amplified in a creamy, spoonable delight. Why stick to the pie when you can slurp the goodness?
Perfect for those chilly evenings, lazy Sunday lunches, or any time you want to impress the fam with a culinary curveball. Get ready for a creamy adventure—your soup spoon won’t know what hit it!
Chicken Pot Pie Recipe: Ingredients Needed
Be sure to have all these ingredient before you start prepping:
Main Ingredients:
- Opt for boneless chicken breasts for that lean bite or thighs for a richer flavor.
- Dive into a medley of fresh veggies—crunchy onions, crisp celery, sweet carrots, vibrant peas, and golden corn.
- Dice up some hearty potatoes to bring a filling texture to your chowder.
- Chicken broth for that homestyle flavor or stock for a deeper taste.
- Choose between heavy cream for indulgence or milk for a lighter touch.
- A dash of butter and flour will thicken our chowder to perfection.
Seasoning and Herbs:
- Classic salt and pepper for seasoning.
- Fresh sprigs of thyme, rosemary, and parsley to transport you to a herb garden.
- A bay leaf to subtly elevate the dish.
Optional Additions:
- Puff pastry or biscuits, ready to dive into the chowder or sit pretty as a garnish.
- A splash of white wine or sherry can take your chowder from delightful to divine.
Equipment Needed
- A large pot or a trusty Dutch oven. This is where the magic brews and our chowder comes to life.
- Grab your favorite wooden spoon or spatula. They’re not just tools; they’re our chowder’s dance partners.
- A sharp knife and sturdy chopping board to prep those fresh ingredients with precision. No tears, just finely diced veggies!
- Measuring cups and spoons to ensure we get every flavor note just right. No more, no less!
- Consider a ladle for serving perfection, and of course, soup bowls to hold our creamy creation. After all, presentation is half the fun!

Preparation Guide
- Cleaning Process: Begin with the raw chicken. It’s essential to ensure that any contaminants are removed to guarantee both safety and the integrity of your dish. Rinse the chicken under cold water, ensuring all parts of the chicken are thoroughly washed.
- Drying Process: After rinsing, take a clean kitchen towel or paper towels and pat dry the chicken pieces thoroughly. This step is crucial because dry chicken allows for even cooking and prevents the chicken from steaming in its juices. Moreover, drying ensures that our chowder achieves the desired consistency without being too watery.
- Dicing Process: Once your chicken pieces are clean and dry, place them on a cutting board. Using a sharp knife, carefully dice the chicken into uniform bite-sized pieces, ensuring that they are neither too large (which might cause uneven cooking) nor too small (which might disintegrate in the chowder).
Vegetables Preparation
- Initial Prepping: Start with washing all the vegetables thoroughly under cold water to remove any dirt or contaminants. For vegetables like carrots or potatoes, peeling may be necessary. Ensure the outer layer is peeled off evenly without wasting much of the vegetable.
- Dicing Process: With the vegetables cleaned and peeled, move to dicing. Uniformity is key here for even cooking. Dice the onions, celery, carrots, and potatoes into even, bite-sized pieces.
- Peas and Corn Segregation: The peas and corn are usually more tender and require less cooking time than the other vegetables. Hence, they are added later in the cooking process. For now, measure out the necessary amount and set them aside in separate bowls.
Herbs and Seasoning Preparation
- Chopping Herbs: Fresh herbs can elevate the chowder’s flavor profile immensely. Take the thyme, rosemary, and parsley and finely chop them using a sharp knife. While a majority will be used in the cooking, remember to set aside a small portion for garnishing at the end.
- Organizing Seasonings: Lastly, it’s always a good idea to have your herbs and seasonings pre-measured and organized. Arrange them in separate containers or small bowls. This “mise en place” or setting up ensures a smooth cooking process without any frantic searches for ingredients when the heat is on (both figuratively and literally).
By meticulously preparing and organizing your ingredients, you pave the way for a seamless cooking experience, ensuring that your chicken pot pie chowder achieves the perfect taste and consistency.

Cooking the Chowder: Here’s How
The magic of the chicken pot pie chowder unfolds in stages, transforming simple ingredients into a warm, hearty, and comforting dish. Let’s dive into the cooking process step-by-step:
Step 1: Searing the Chicken
- Butter Base: Start by placing your large pot or Dutch oven on medium heat. Once hot, add a generous amount of butter, allowing it to melt and coat the base evenly. The butter not only adds flavor but also acts as a medium for even cooking.
- Chicken Time: Gently place your bite-sized chicken pieces into the pot. Distribute them evenly to ensure they don’t overlap, which would lead to steaming rather than searing.
- Seasoning: Sprinkle the chicken with salt and pepper, ensuring even distribution. This initial seasoning ensures each piece is flavorful from the core.
- Golden Sear: Allow the chicken to sear until they adopt a golden-brown hue on all sides. The sear locks in the juices, ensuring the chicken remains succulent.
- Set Aside: Once seared to perfection, use your spatula or spoon to remove the chicken pieces, placing them in a bowl. Setting the chicken aside ensures they don’t overcook during the next steps.
Step 2: Sautéing Vegetables
- Butter Again: In the same pot, which now holds flavors from the seared chicken, add another dollop of butter.
- Vegetable Medley: Introduce the diced onions, celery, and carrots to the pot. Their sequence matters since onions take a bit longer to release their sweetness.
- Translucent Transformation: Sauté the mixture until the onions turn translucent—a sign that they’ve softened and released their aromatic essence.
Step 3: Roux Preparation
- Flour Introduction: Sprinkle the flour over the sautéed vegetables. The flour acts as a thickening agent, giving the chowder its classic consistency.
- Stir and Cook: Mix continuously, ensuring the flour integrates well with the vegetables. The mixture will soon adopt a paste-like consistency. Cook this roux for about 1-2 minutes; this cooks out the raw flour taste.
Step 4: Adding Liquids and Potatoes
- Broth or Stock: Begin pouring in the chicken broth or stock in a steady stream, continuously stirring to ensure the integration is lump-free. The liquid will combine with the roux, creating a smooth base for the chowder.
- Potato Time: Add the diced potatoes into the mixture. Their starchy nature will further enhance the chowder’s consistency.
- Simmering Point: Raise the heat slightly, bringing the mixture to a gentle simmer. This slow cooking ensures the flavors meld while keeping ingredients intact.
Step 5: Simmering and Cooking
- Chicken’s Return: Reintroduce the previously seared chicken pieces into the pot, immersing them in the simmering liquid.
- Herb Infusion: Sprinkle in the freshly chopped thyme and rosemary. Also, place the bay leaf in the mix. These herbs will impart a depth of flavor as the chowder simmers.
- Patience is Key: Let the chowder continue its simmering dance gently, ensuring that the potatoes reach the perfect tender point without disintegrating.
Step 6: Final Touches
- Peas, Corn, and Cream: It’s time for the peas and corn to join the pot, adding their vibrant colors and textures. Follow this with the heavy cream or milk, which imparts a rich, creamy texture synonymous with chowders.
- Flavor Enhancement: Taste the chowder and adjust the seasoning. If you opt for an added depth, a splash of white wine or sherry can elevate the dish’s complexity. Ensure you simmer for a few more minutes post this addition, allowing the alcohol to cook out and flavors to meld.
- Final Check: Before serving, do a final taste test. Adjust salt and pepper as needed. Remember to locate and discard the bay leaf; while it imparts a fantastic flavor, it’s not meant for direct consumption.
Serving Suggestions
After the meticulous process of cooking, now comes the delightful task of serving. While the chowder’s rich and hearty flavors are undoubtedly the star of the show, how you present and pair it can elevate the entire dining experience. Here are some serving suggestions to consider:
Traditional Way
- Simple Elegance: Start by ladling the chowder generously into individual soup bowls. The steam rising from the bowl promises warmth and satisfaction.
- Garnish: Sprinkle freshly chopped parsley over the chowder. Not only does it add a pop of color but also introduces a fresh element that complements the rich flavors.
- Bread on the Side: What’s a chowder without some crusty bread? Serve slices of rustic bread or a fresh baguette on the side. This allows guests to dip and savor or simply enjoy a bite between spoonfuls.
With Puff Pastry or Biscuits
- Bowl Selection: Opt for oven-safe bowls. Ladle the chowder almost to the brim, leaving some space for the pastry or biscuit.
- The Cover: Drape a piece of puff pastry over the bowl or place a biscuit on top. This acts as a delightful crust, offering a contrast in texture.
- Baking Time: Pop these bowls into a preheated oven. Bake until the pastry or biscuit turns a golden brown, signifying it’s crisp and ready.
Accompaniments
- Salads: A fresh green salad with a vinaigrette dressing can balance the richness of the chowder. Think mixed greens, cherry tomatoes, and perhaps some crumbled feta or goat cheese.
- Beverages: White wines, particularly those with a hint of acidity like Sauvignon Blanc, can complement the creamy texture. For non-alcoholic options, consider iced tea with a slice of lemon or sparkling water with a hint of lime.
- Side Dishes: Grilled vegetables or a light, lemony couscous can act as fantastic side dishes, offering a contrast in flavor and texture.
Storage and Reheating
- Storing Leftovers: Once the chowder cools down, transfer it to an airtight container. It can be refrigerated for up to 3-4 days.
- Reheating: When ready to eat, pour the desired amount into a pot and reheat on a low flame. Stir occasionally to ensure even warming. If the chowder thickens excessively upon refrigeration, a splash of milk or broth can help restore its consistency.
Conclusion
And that’s a wrap folks! This recipe marries the classic pot pie’s essence with the easiness of a chowder. It’s more than just food; it’s an experience, a memory, a hug in a bowl.
But remember, while this guide provides a path, the true magic lies in personal touches. So, don your apron, let creativity flow, and craft a pot of golden comfort.
Happy cooking!
